
Recipe #10
Yo, Pie Cake – Imma let you finish, but I just gotta say something first….
I wasn’t always the unutterably evil super villain I am now; I was like you once. Long ago I too had a human soul. I had hopes, I had dreams and a twinkle in my big brown eyes that shone with the promise of a brighter tomorrow. Then something happened to me, something that transformed me into this twisted, hateful creature you see before you now. I had my heart broken.
Crushed and pulverised it was into a trillion, trillion pieces. Now all I have left is dust and a hollow feeling like a hunger that gnaws at my innards relentlessly, a craving that compels me to drag everyone else down to my own personal circle of Hell – a bitter, wretched place that burns with the eternal fire of unquenchable self loathing. That’s how most bakers get started you know…
STAGE 1 – BISCUIT DOUGH:
Before we get into this, you’ll need to do some prep work, the first of which is making some biscuit dough. Go to my blog post entitled Chocolate Sandwich Biscuits and follow the recipe and method for making one quantity of the chocolate biscuit dough. Don’t bother with the filling because we won’t be needing it; the only thing we will be filling up today is contempt and resentment.
Once the dough is made, place it on a sheet of clingfilm and proceed as follows….
Shape the dough into a rough heart shape:
 Then get a big knife and stab the heart right through the middle – stab it deep:
 Then give the knife a nice twist – make the dough FEEL it:
 Slice the heart in two so that it will never be completely whole again:
 And finally wrap the pieces first in cling film and then in tin foil. Place it in the fridge until it is cold and unyielding – just like the real thing:

STAGE 2 – PREPPING THE TIN:
Take one 9 inch spring form cake tin:
 For this recipe we will need to invert the base – all that means is that we take the base out of the tin and then put it back in place upside-down. Doing this will make it easier to slip the cheesecake off the base later:


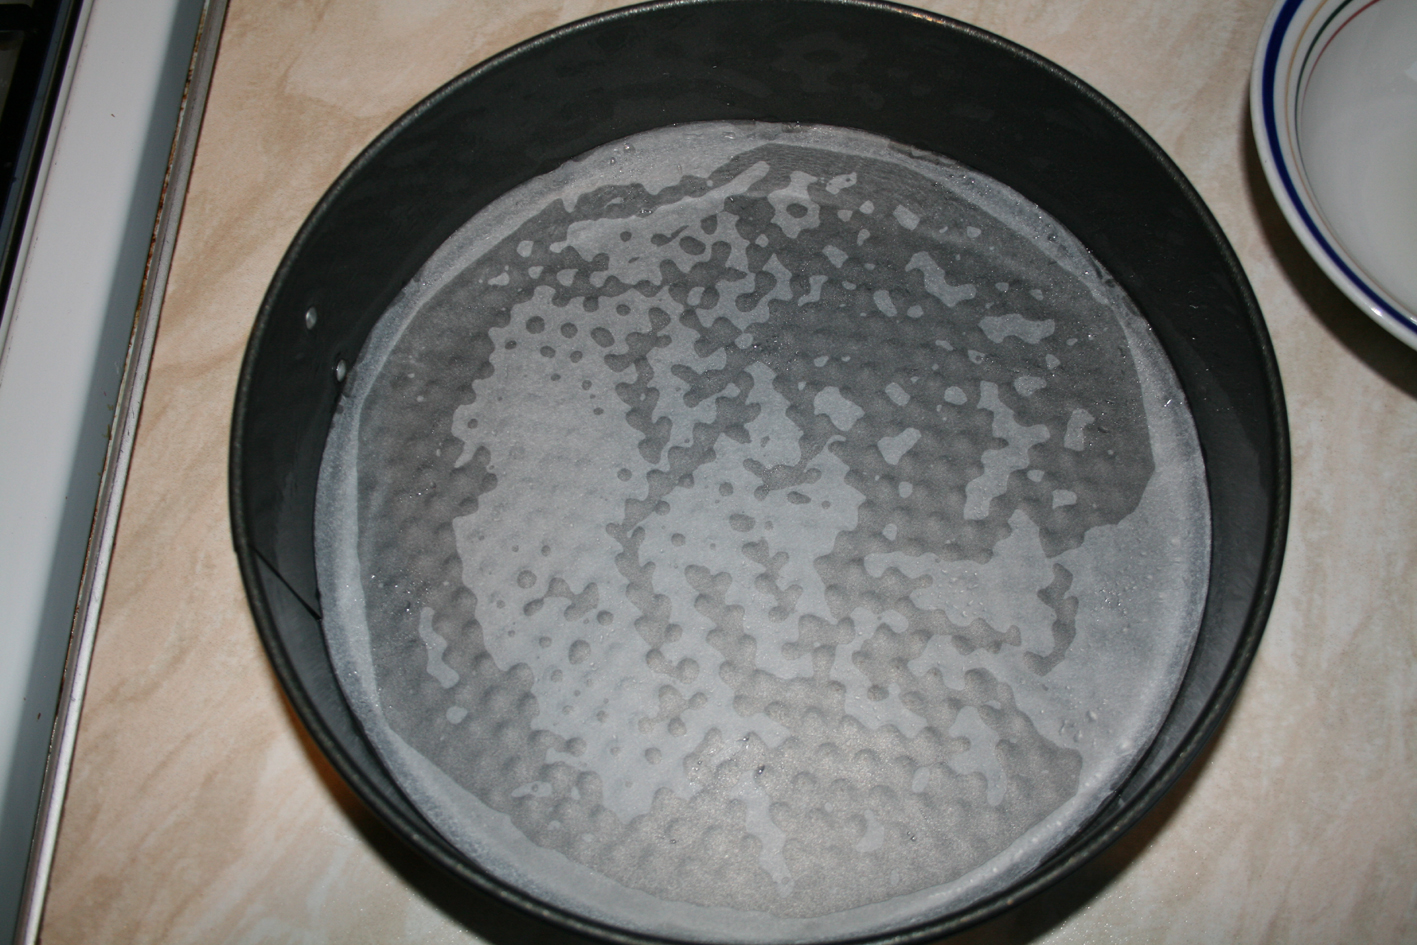
 Cut two circles of baking paper to fit the base and two strips of baking paper each slightly longer than half the circumference of the tin – the strips need to be able to overlap each other. Grease the tin with vegetable oil and begin to apply the baking paper lining. Place the first circle of paper onto the base:
 Apply the first baking paper strip to one side of the inside of the tin:
 Oil the edges of this strip and then apply the remaining strip. Trim the paper down if necessary so there is at least a two or three inch rise above the lip of the tin:

 Place the the second circle of baking paper on top of the first circle inside the tin so you have a double layer base. This will help slip the finished cake out of the tin later:
 This tin needs to be leak proofed because we are going to use a slow water bath method to bake it. Start by wrapping the outside with a liberal quantity of cling film:
 Over this wrap a double wall of tin foil:
 And then seal everything tightly with a third and final barrier of cling film:
 STAGE 3 – THE BISCUIT BASE:
WHAT YOU WILL NEED
Equipment:
- The prepared 9 inch spring form cake tin
- A pan
- a Mixing spatula
- A rolling pin
- A zip lock bag
- A teaspoon
Ingredients:
- 300 grams of dark chocolate biscuits, crushed
- 120 grams of butter, melted
Place the chocolate biscuits inside the zip lock bag, zip the lock closed and pulverise them with the rolling pin. Just imagine that the biscuits are all your hopes and dreams and that should inspire you to smash them into the right consistency:

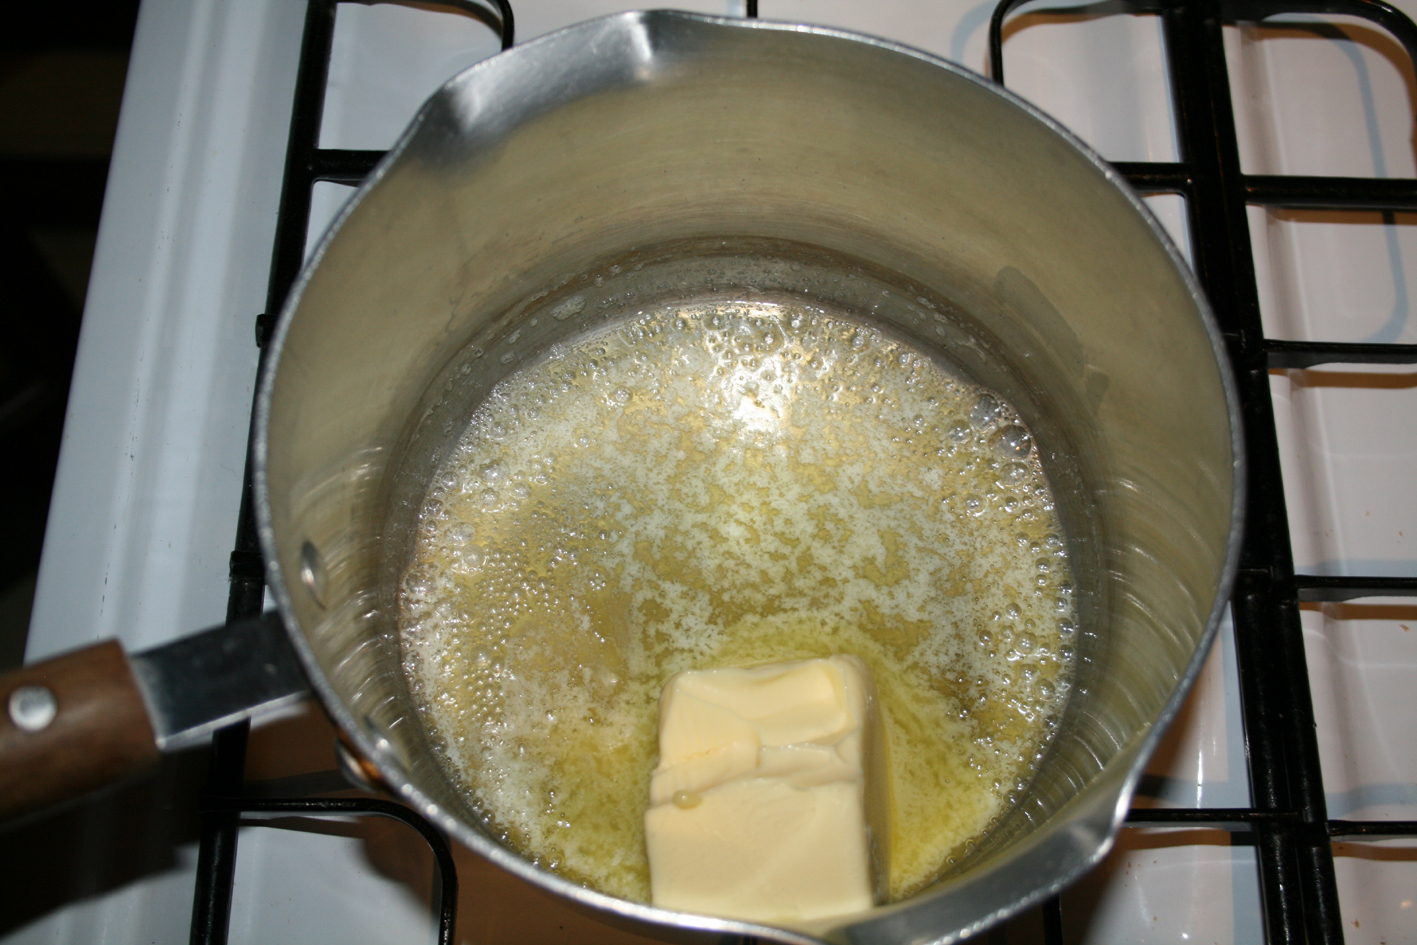
 Melt the butter in the pan and then tip in the smashed biscuits. Stir together until combined:

 Scoop the mixture into the prepared cake tin and smooth the base flat with the back of a teaspoon. A teaspoon is used as it will give you more room to manoeuvre inside the tin – a regular spoon’s handle would be too long:

 Place the tin in the fridge until the biscuit base sets.
STAGE 4 – THE BITTER BLACK HEART:
The dark core of bitter sorrow that broods at the heart of this cake is in fact a block of chocolate brownie, which we are going to make now:
WHAT YOU WILL NEED
Equipment:
- A 7 inch sponge tin
- Baking paper
- Oil for greasing
- A pan
- A large metal bowl
- A few smaller bowls
- a Mixing spatula
Ingredients:
- 100 grams of dark chocolate finely chopped
- 50 grams of butter
- 100 grams of dark chocolate for melting
- 2 eggs
- 125 grams of dark brown sugar
- 55 grams of plain flour
- 20 grams of cocoa powder, plus extra for dredging
- 1/2 teaspoon of salt
- 1/2 teaspoon of baking powder
Preheat the oven to 180˚C/350˚F/Gas Mark 4.
Grease the sponge tin and line the base with a circle of baking paper:
 Chop 100 grams of dark chocolate and dredge them in a bowl with some cocoa powder. These pieces will be added to the mix later and the coating of cocoa is to help prevent them sinking to the bottom of the brownie batter and ensure an even distribution:
 Measure out the sugar in a bowl:
 In another bowl measure out the dry ingredients – the flour, cocoa, salt an baking powder and set aside next to the chopped chocolate and sugar:
 In a large metal bowl place another 100 grams of dark chocolate and butter. Melt slowly over a pan of boiling water, stirring until the mixture is liquid and glossy:


 Leave this mixture aside to cool for about five minutes. Do not add the eggs while the chocolate is still hot as this will cause the eggs to cook and scramble. You are aiming for a smooth and silky mixture. Once the chocolate has cooled a little start mixing in the eggs one at a time:
 Stir in the sugar until thoroughly mixed, pressing out any lumps with the spatula:
 Fold in the dry ingredients:
 Then stir in the cocoa dredged dark chocolate pieces:

 Scoop the batter into the prepared sponge tin and bake for between 35 to 45 minutes. Test the centre of the brownie with a toothpick – you’re looking for it to be still very slightly raw in the middle. This is what will give the brownie its moist fudge like texture:

 Let the brownie cool in the tin for about 10 minutes. Then loosen it by running a thin spatula around the edge so that it will pop out easily. Leave the brownie on a wire rack to cool completely and then wrap it in some cling film and foil and put it in the fridge next to the dough and the biscuit base.
STAGE 5 – THE WHITE CHOCOLATE CHEESECAKE:
Now you may be wondering to yourself, ‘Why white chocolate cheesecake? Why not make it all dark chocolate if your that grumpy about love and all that?’ Well you see this cake is a lot like love itself; it has its lighter moments. But those brief interludes of light only serve to make the darkness appear even darker by contrast – so there you go:
WHAT YOU WILL NEED
Equipment:
- A large bowl
- An electric mixer
- Oil for greasing
- A Mixing spatula
- A small bowl
- A large roasting tin
- Boiling water
Ingredients:
- 450 grams of white chocolate melted
- 400 grams of cream cheese at room temperature
- 4 large eggs
- 300 millilitres of sour cream
- 1 teaspoon of vanilla paste
- 150 grams of berries, black (like my heart)
Preheat the oven to 160˚C/325˚F/Gas Mark 3.
Break up the white chocolate and melt it in the microwave. Leave aside to cool slightly:
 Wash and dry the back berries and set them aside:
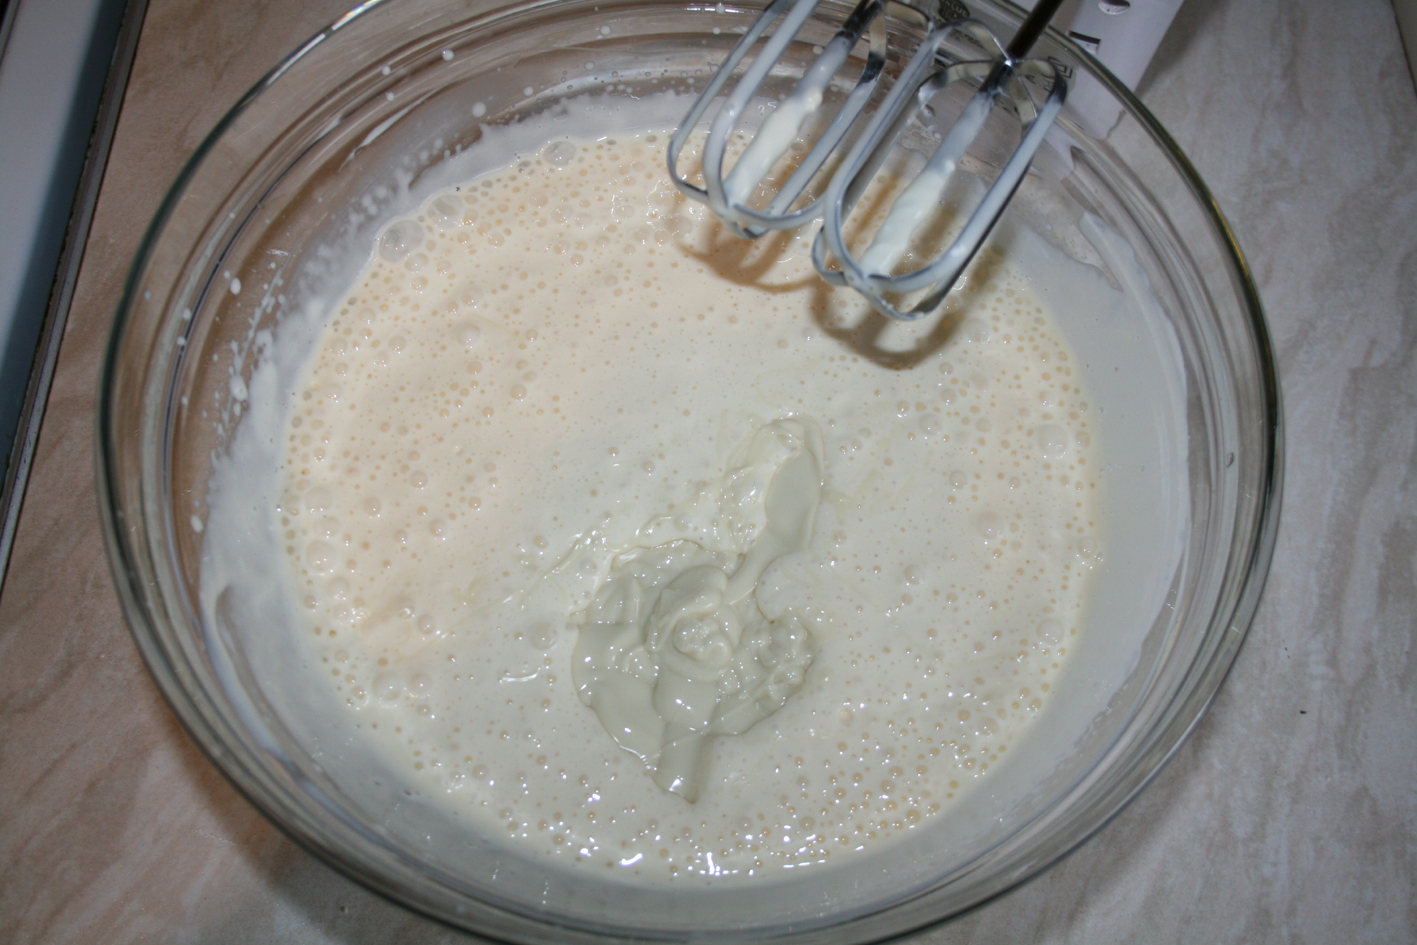
 In a large bowl whisk the cream cheese with the electric mixer until smooth:
 Whisk in the eggs all in one go:
 Scoop in the white chocolate and whisk thoroughly:
 Pour in the sour cream and vanilla paste and give it all a final zap with the mixer until everything is smooth and creamy:

 Take the biscuit base and brownie core out of the fridge:
 Pour half the cheesecake mix over the biscuit base:
 Unwrap the brownie core and place it carefully into the centre of the tin on top of the cheesecake mix:
 Arrange the blackberries around the outside of the brownie core:
 Pour the remaining cheesecake mix over the top so that the brownie and the berries are completely covered:
 Cover the top of the tin with a large sheet of baking paper to help prevent the surface of the cheesecake from burning. Place the whole cake tin into a large roasting tin. Put the roasting tin with the cheesecake inside it into the preheated oven. Once the tin is in the oven fill the roasting tin half way with boiling water from a kettle. Then close the oven door and leave to bake.
 After 90 minutes check the cheesecake. It will still be mostly liquid at this point. You will also notice that it has begun to rise quite a bit. Don’t be alarmed by this – the cake will shrink and settle into more reasonable proportions later. If the cake looks to be browning unevenly then you can rotate the tin so that the lighter parts face the back and hottest part of the oven. Also refill the roasting tin with hot water from the kettle. Close the oven door and let the cake bake for another 30 minute interval. Keep checking the cake every 30 minutes – you will probably need to do this about three or four more times before the cake is ready.
What you are looking for is for the cake to be firm around the edges but still with a very slight wobble in the middle. When you reach this point then turn the oven off, but leave the cheesecake in the oven for an hour. The latent heat should be enough to cook the remainder of the cake until it is completely set.
As you can see, my cake got a tad bit over browned. But that’s okay; it wouldn’t really be love if it didn’t leave you a little burned:
 Do not attempt to remove the cake from the tin at this point. Leave the it as it is and put it in the fridge to for two or three hours – overnight would be preferable.
STAGE 6 – THE CAGE OF HEARTS:
What am I doing? Just what do I think I’m doing? I can’t cage something as wild as love! I can’t tame something as elemental as passion! Yet here I am again, a reckless cowboy trying to bridle a hurricane. When will I ever learn? Probably never. Well giddy-up, horsey, and yippee ki-yay!
WHAT YOU WILL NEED
Equipment:
- Heart shaped biscuit cutters, various sizes
- Cling film
- A rolling pin
- Baking paper
- A baking tray
Ingredients:
- Pre-made biscuit dough from Stage 1
Preheat the oven to 180˚C/350˚F/Gas Mark 4.
Gather together a set of heart shaped biscuit cutters:
 Draw a circle on a large sheet of baking paper the same diameter as the tin in which you baked the cheesecake. You can use a compass, but I used the base of another cake tin the same size as the one that contained the cheesecake – I have two you see; I take my baking very seriously:

 Take the biscuit dough heart out of the fridge. By now it should have toughened up nicely. Break it in half and then slice it up even further into manageable pieces. Work the dough with your hands to warm it up and make it pliable. Be patient with it – you don’t get over wounds like the ones it endured in a hurry:

 Roll out the dough between two sheets of cling film and commence cutting out heart shapes. Arrange them within the circle you drew on the baking paper in whatever pattern your imagination can conjure – or you could copy the one I made, I don’t mind:

 The key thing to remember is that when you arrange the cut out biscuit pieces is to make sure they are touching. Normally when baking biscuits the recipes advise leaving a good space between each biscuit to allow for expansion. However, in this case you want all the biscuits crowded close together so that when they bake they will merge with each other and (hopefully) form one big solid piece of biscuit. This will for the roof of the biscuit cage. Next we must make the bars.
Again, you can cut out any kind of heart themed arrangement you like, but this is the one I made:
 Be sure that you make enough to go around the whole circumference of the cake – about 12 will do:
 Bake the heart roof and heart bars for about 12 minutes in the preheated oven, then leave to cool:

 Now extract the cheese cake (carefully) from the tin in readiness for the endgame….
STAGE 7 – HIDING THE FLAWS:
Let’s face it, for all our fairytale hazed notions about it, love is rarely a perfect thing. In fact parts of it can be quite off-putting and ugly. But still we cannot break our fascination because we know of all the sweet promises that it holds inside. Fortunately there is something that can mask the less appealing aspects, and that thing is called icing….
WHAT YOU WILL NEED
Equipment:
- A metal bowl
- A pan
- A mixing spatula
- A cake decorating turntable
- A steel pallet knife
- A straight edged scraper
Ingredients:
- 300 grams of dark chocolate
- 300 millilitres of double or whipping cream
- The cheesecake
Specifically we’re going to be making a ganache icing. Start by breaking the dark chocolate into the bowl:

Place the cream in the pan and scald it. This means you heat it until it just starts to bubble around the edges, but don’t let it come to a full boil:

 Pour the warmed cream over the chocolate and let it sit for about five minutes:
 The heat from the cream should be enough to melt the chocolate. Stir the mixture until you have a dark glossy liquid:

 Set it aside for about ten minutes so that the ganache has time to cool and thicken slightly. When the ganache has obtained the consistency of household gloss paint, bring out your pallet knife and scraper:
 Pour just a little bit of the gananche onto the the cake and spread it as evenly as you can over the top and down the sides. Just like gloss paint you will need to apply it a layer at a time:
 Don’t be be tempted to rush this part – so many loves have been ruined because of over eagerness. Just apply the chocolate liquid onto the cake a tiny bit at a time and work it around with the pallet knife and scraper. You’ll find that the chocolate will start to set as each layer is worked onto the cake, and before your eyes all those little imperfections will begin to vanish from sight:

 While the ganache is still relatively soft, arrange the biscuit hearts around the sides:
 And finally put the roof on the cage:
 So there you have it – my dark and perilous love in all its glory:


 Now, if you’ll excuse me, I’m going to take this cheesecake to my room. I’m going to turn off all the lights and I’m going to eat the whole thing all by myself. Does anybody have a problem with that?
NUTRITIONAL ADVICE

Pingback: Valentine Special: Bitter Black Heart Cheesecake | terrificwriter
Absolutely brilliant, awesome
Thanks Naveen 🙂
Wow, brilliant indeed!
Thank you 🙂